Installation
FilamentCraft is distributed as a private Composer package through Anystack. You'll add the private repository and HTTP basic credentials, then composer require as usual.
Install
# Use the Composer repository URL and credentials shown in your Anystack license/account.
composer config repositories.filamentcraft composer <your-anystack-composer-repository-url>
composer config http-basic.<your-anystack-host> <username> <license-key>
composer require filamentcraft/filamentcraft
php artisan filamentcraft:install
Anystack private Composer packages require adding the private repository and HTTP basic credentials before composer require; the license key is used as the Composer password.
The install command:
- publishes the config + migrations and runs them,
- registers editor assets via
filament:assets, - creates the public storage symlink used by image uploads.
Start with an example site
To land on a working page right after install, pass --example:
php artisan filamentcraft:install --exampleThat seeds a studio Theme, a studio-demo Site, and a published home template populated with Hero + Features + Footer sections. Re-running the command is idempotent — the second invocation prints Example site already seeded and exits cleanly.
Register the plugin
Register the plugin on the panel that should host the editor:
use FilamentCraft\FilamentCraftPlugin;

public function panel(Panel $panel): Panel
{
    return $panel
        ->id('admin')
        ->plugin(FilamentCraftPlugin::make());
}
That's it for the minimal install — open the panel and you'll find a Templates resource and an Editor page.
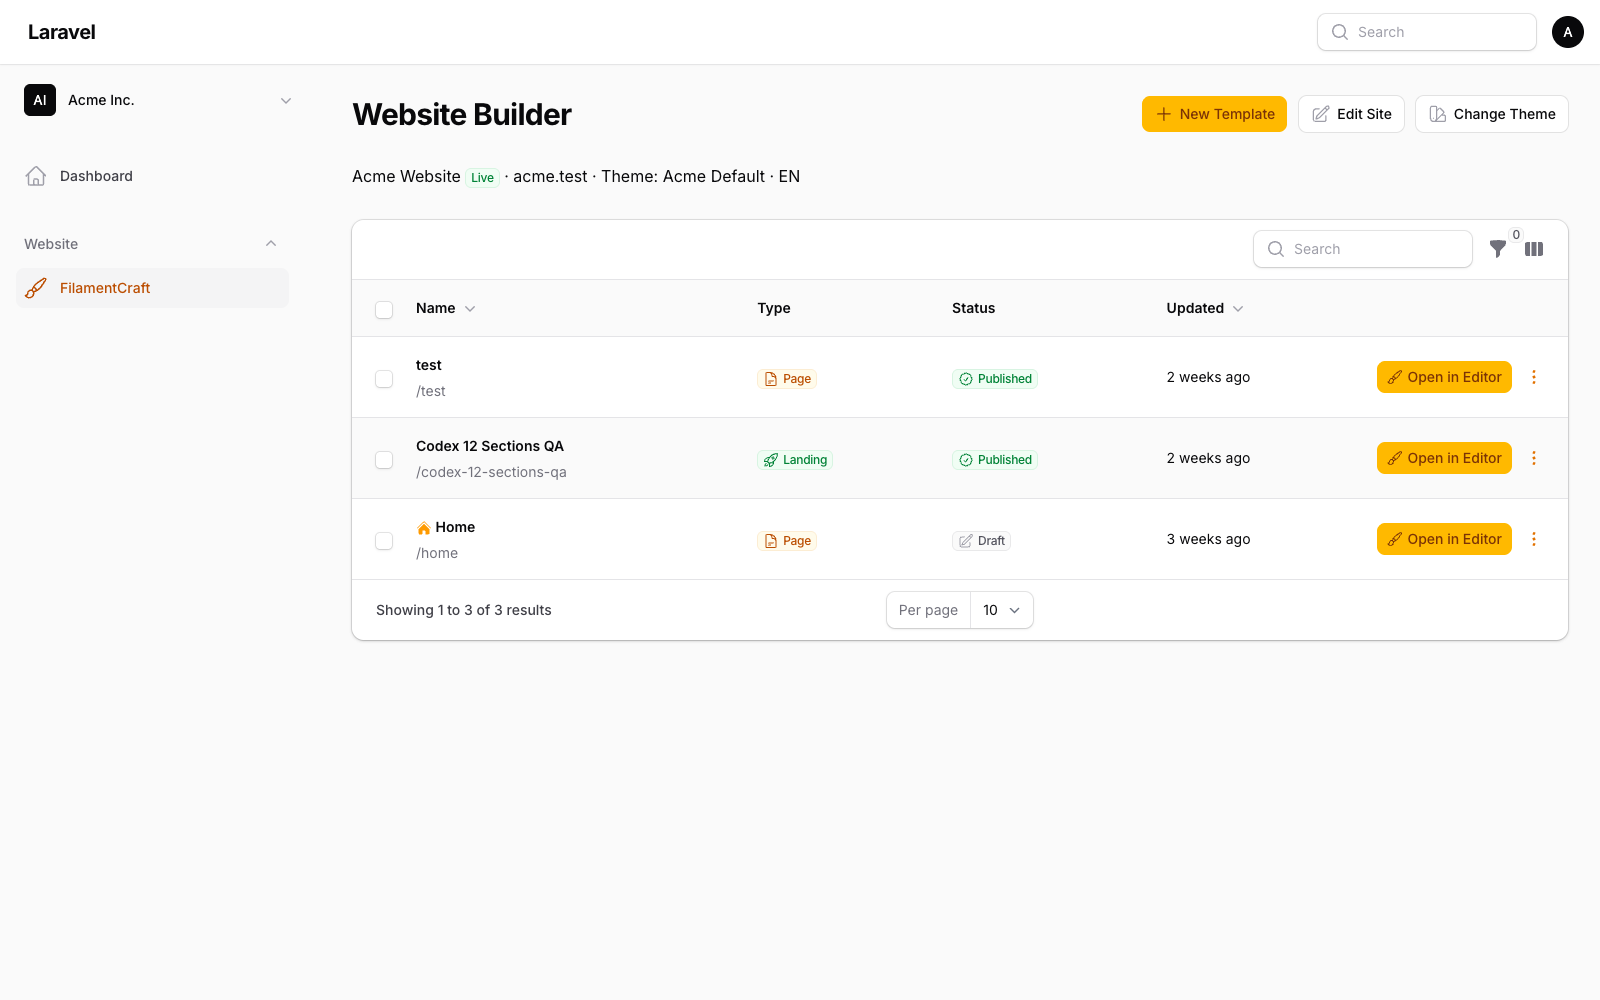
Build your first page
- Create a Theme and Site row (via the resources or a seeder).
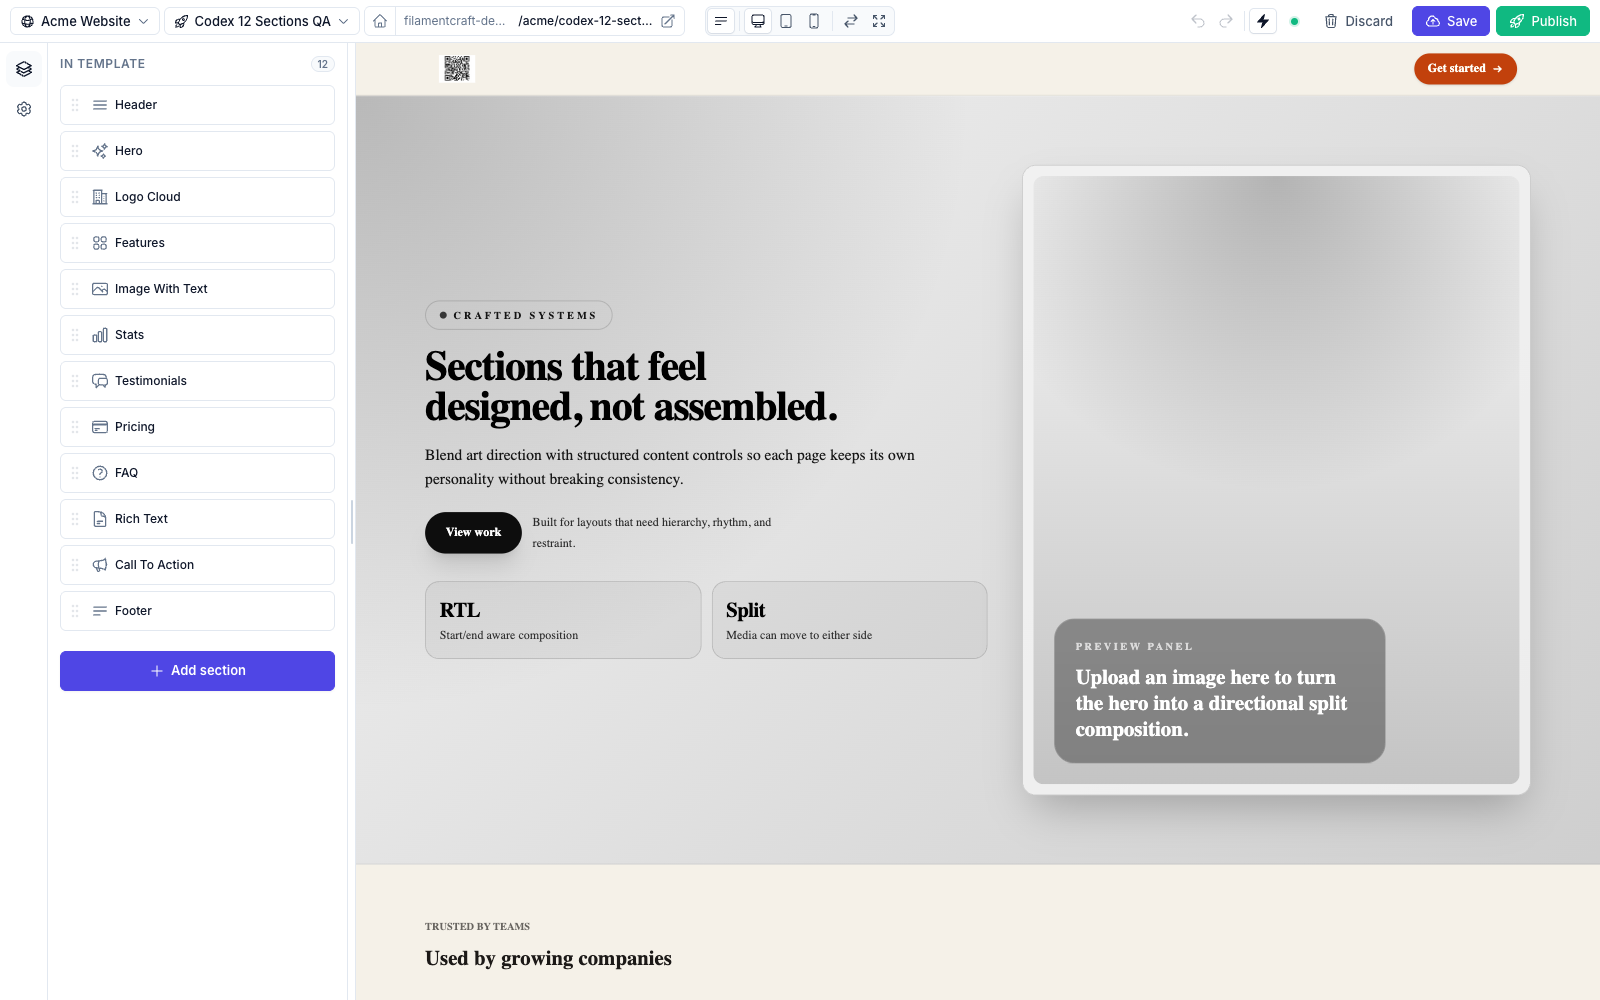
- Add a Template and click Open in Editor.
- Add sections from the catalog, edit their settings, and watch the live preview update.
- Save to write a draft revision, then Publish to promote it.
Next steps
- Styling & Tailwind — wire FilamentCraft into your panel's Tailwind build.
- Sections — the built-in catalog and writing your own.
- The Editor — topbar actions, devices, focus mode, undo/redo.